
Seed-Starting Mix for Onions: What to Use
Choose seed-starting mix for onions, prepare it for even moisture, and know when seedlings need fertilizer or more root space.
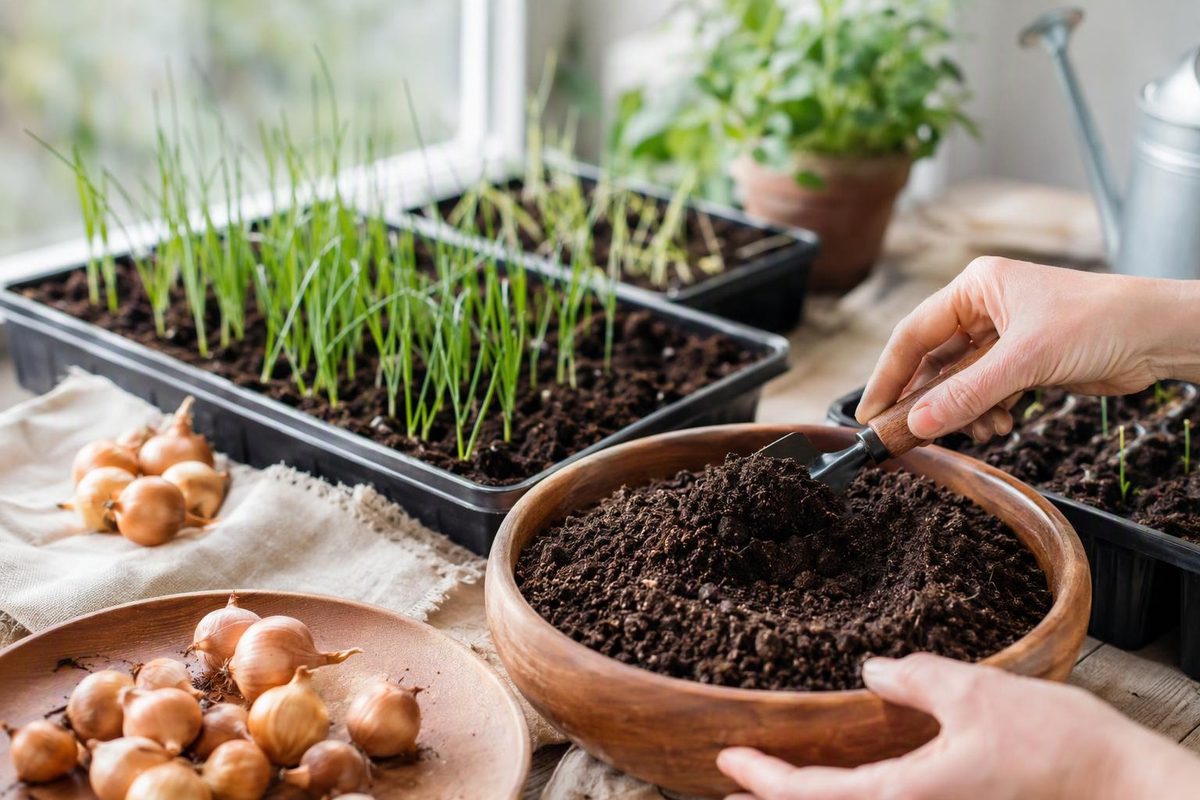
For indoor starts of bulb onions (Allium cepa), use a fine-textured, soilless seed-starting mix made mainly from peat moss or coconut coir, with perlite, vermiculite, or both. Choose by texture and ingredients rather than looking for an onion-specific product. The mix needs to retain moisture while letting excess water drain away; Utah State University Extension recommends peat- or coir-based seed or plug mixes without large wood chips for starting vegetables. USU’s materials guide explains what to look for.
Which mix should you buy—or make?
Bagged seed-starting mix is the simplest choice. Look for a loose, fairly uniform texture without large bark pieces. Check whether the label lists a starter fertilizer: that matters later, when the seedlings are growing rather than just germinating.
A fine soilless potting mix can also work. “Potting soil” and “seed-starting mix” are overlapping names, not guarantees of different ingredients. Reject a chunky product for this job, even if its label says it is suitable for containers. USU describes these soilless mixes as lighter than garden soil and usually disease-free—not necessarily sterile. See its guidance on soilless mixes.
For a basic DIY blend, USU offers equal parts peat moss, perlite, and vermiculite. Measure by volume and mix thoroughly. This is a starting medium, not a complete feeding program. For more detail on choosing ingredients, see our buy-or-make seed-starting mix guide.
Do not substitute soil dug from the garden simply because onions grow well in it outdoors. For indoor trays, start with clean soilless media and clean containers with drainage holes.
Prepare the mix before sowing
- Break up clumps in a separate tub. If the dry mix is dusty, wear a dust mask while handling it.
- Add water gradually and stir. Aim for the feel of a wrung-out sponge: evenly damp, but not wet enough to squeeze water from a handful. If it is too wet, blend in more dry mix.
- Fill the container and tap it gently to settle. Do not pack the whole tray down firmly with your hands.
- Sow and cover shallowly. Johnny’s Selected Seeds specifies a ¼-inch covering for indoor onion sowing. Follow your packet if it gives different instructions for your seed and method.
- Water gently. Bottom watering avoids washing seeds around; use a fine mist if the surface covering remains dry. Let excess water drain away.
The moisture and filling checks come from USU’s germination guide; the onion-specific covering depth comes from Johnny’s growing instructions.
Before emergence, check daily that the seed layer remains evenly moist, without dry patches or waterlogging. A humidity cover can reduce drying, but keep covered trays out of direct sunlight.
After sprouting: change the care, not automatically the mix
Remove the humidity cover once seedlings emerge, provide supplemental light, and allow gentle air circulation. Germination moisture management is not a reason to keep growing roots permanently wet.
Lift the tray after watering to learn its weight. As it becomes noticeably lighter and the surface lightens in color, check whether it needs water. Do not wait for seedlings to wilt, and do not leave the tray standing in drainage water.
Check the fertilizer label before feeding. In an unfertilized mix, begin feeding when seedlings develop their first true leaves, as recommended in USU’s materials guide. Use a complete fertilizer at its labeled seedling dilution. If no seedling rate is given, USU recommends half the normal concentration once weekly. A starter charge may supply nutrients for a few weeks, but not indefinitely.
Onions do not need a new medium merely because they have sprouted. More container space becomes useful when roots form a thick mat at the bottom. If you pot them up, use moist soilless mix, gently separate intertwined roots, and replant at the same depth. These watering, feeding, and root-space checkpoints are detailed in USU’s seedling-care guide.