
Mix for Seed Starting: Buy It or Make Your Own?
Choose a seed-starting mix, improve a bagged potting mix, or make a simple DIY blend—and learn how its moisture and texture should feel.
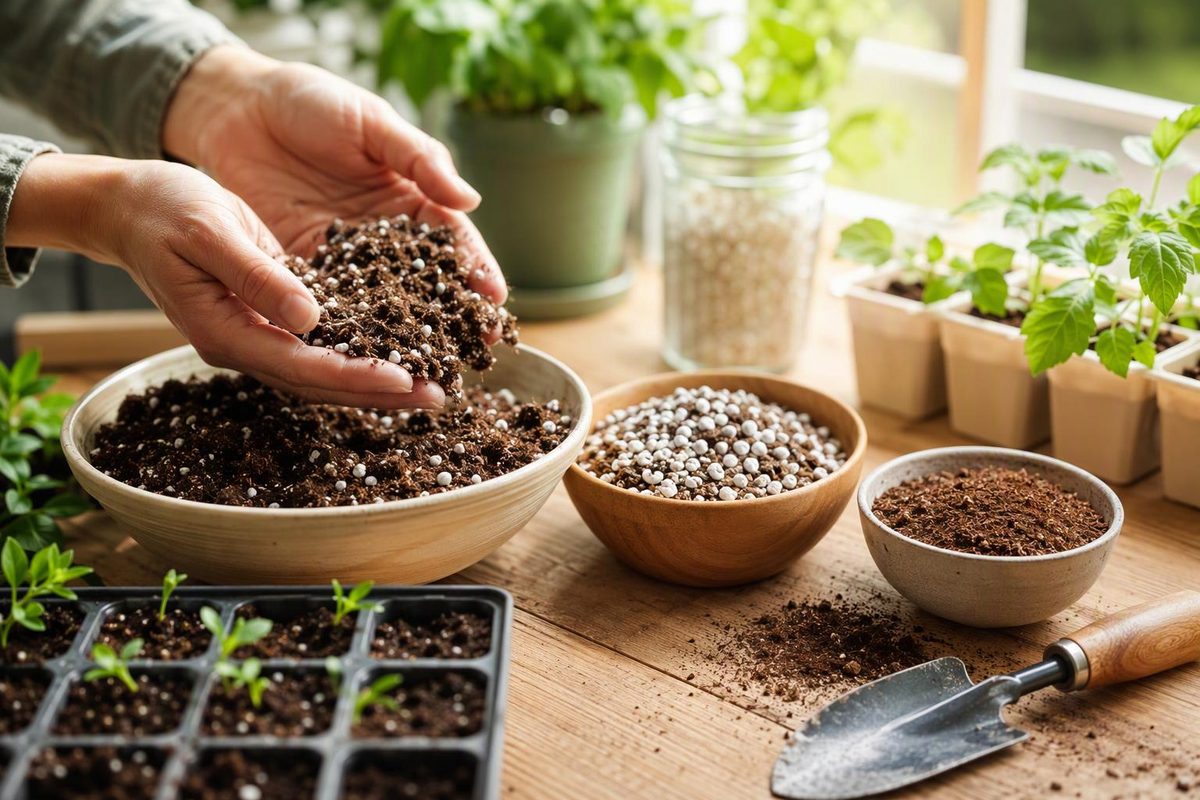
The best all-purpose mix for seed starting is a fresh, fine-textured soilless mix that holds moisture without staying soggy. For a few trays, a bag labeled “seed-starting mix” is the simplest choice. For many trays, you can mix equal parts peat moss or coconut coir, fine vermiculite and fine perlite.
Do not fill seed cells with garden soil. In a shallow container, soil can compact, crust over and leave too little air around germinating roots. It may also carry weed seeds and disease organisms. A useful germination medium should instead be fine, loose, well-aerated, low in soluble salts and able to move moisture evenly, according to Oregon State University Extension.
A dependable DIY seed-starting mix
Measure ingredients by volume:
- 1 part peat moss or coconut coir for moisture retention
- 1 part fine vermiculite for moisture retention and aeration
- 1 part fine perlite for drainage and air space
This equal-parts formula comes from University of Georgia Extension. “One part” can be any convenient measure—a yogurt cup, scoop or bucket—as long as you use the same one for all three ingredients.
Choose horticultural ingredients with a small particle size. Large pieces make it difficult to sow tiny seeds at a consistent depth. Leave garden compost out of this basic blend unless you know its maturity and salt level and can screen it finely. Compost can contribute useful nutrients and microbes, but an inconsistent batch may also hinder seedlings. Penn State notes that compost-based mixes can contain enough soluble salts to inhibit germination and recommends testing an unfamiliar mix with a fast-growing crop before committing a full batch of transplants (Penn State Extension).
Mix the dry ingredients gently in a tub or bucket. Perlite and dry peat can be dusty, so work in a ventilated place and avoid breathing the dust. Add lukewarm water a little at a time, turning the mix until it feels like a wrung-out sponge: evenly damp, able to hold together briefly when squeezed, but not dripping.
Fill the cells, tap the tray gently to settle large voids and level the surface. Do not pack the mix hard. Sow at the depth stated on the seed packet.
Can you use ordinary potting mix?
Yes—a fresh, lightweight soilless potting mix can start most vegetable seeds. A seed-starting product has a finer texture, which is especially helpful for lettuce, petunia and other small seeds, but the University of Maryland says it is not essential for general vegetable seed starting (University of Maryland Extension).
Check the bag before using it:
- Choose a mix that feels light and springy, not dense or muddy.
- Avoid products dominated by coarse bark or large “forest product” pieces.
- Break up clumps and screen out large chunks when sowing tiny seeds.
- Check whether fertilizer is included; this affects when the seedlings need feeding.
- Use unused mix rather than media recovered from last year’s trays. New mix helps limit exposure to damping-off pathogens (University of Minnesota Extension).
Do not confuse potting mix with topsoil, raised-bed soil or garden soil. Those products are intended for larger soil volumes and different drainage conditions.
Keep fertilizer low during germination
Seeds carry stored reserves for their first stage of growth, so a germination mix should have little fertility. Excess fertilizer raises the soluble-salt level and can injure young roots; overfertilizing and high salts are also associated with damping off (University of Minnesota Extension).
Read the mix label before feeding:
- Mix with starter fertilizer: Follow the waiting period on the bag. Some soilless mixes contain enough fertilizer for several weeks.
- Mix without fertilizer: Wait until several true leaves have developed, then apply a soluble fertilizer at one-quarter of the label’s standard strength unless its seedling directions specify otherwise. Young seedlings are easily injured by excess fertilizer.
Cotyledons are the first seed leaves. True leaves emerge next and begin to resemble the mature plant’s foliage.
Check the mix before sowing a full tray
Wet a small batch and fill one cell or pot. Then look for these signs:
Water beads on top: Dry peat-rich media can repel water. Empty it back into a tub and work in lukewarm water gradually. Pre-moistening gives more even moisture than repeatedly flooding filled cells; University of Maine Cooperative Extension recommends mixing warm water into soilless media until it is uniformly moist but not saturated.
The cell stays glossy-wet or the mix drips when squeezed: It is oversaturated or compacted. Let it drain, loosen it and confirm that the container has open drainage holes. Germinating seeds need oxygen as well as water.
The surface is full of sticks and cavities: Screen the mix or switch to a finer product, especially for surface-sown or dust-like seed.
Seedlings narrow and collapse at the media line: That is consistent with damping off, not a fertilizer shortage. Discard the affected plants and mix, then wash and disinfect reused containers before restarting with unused medium. Keep the replacement mix moist rather than soggy; saturated media deprives roots of oxygen and favors damping-off pathogens (University of Maryland Extension).
Once the mix is suitable, temperature, light and watering become the next controls. See the full indoor seed-starting guide for those steps.