
How to Grow a Peach From a Seed
Clean and cold-stratify a peach pit, pot the sprouted seed safely, and prepare the seedling for a sunny site—without expecting identical fruit.
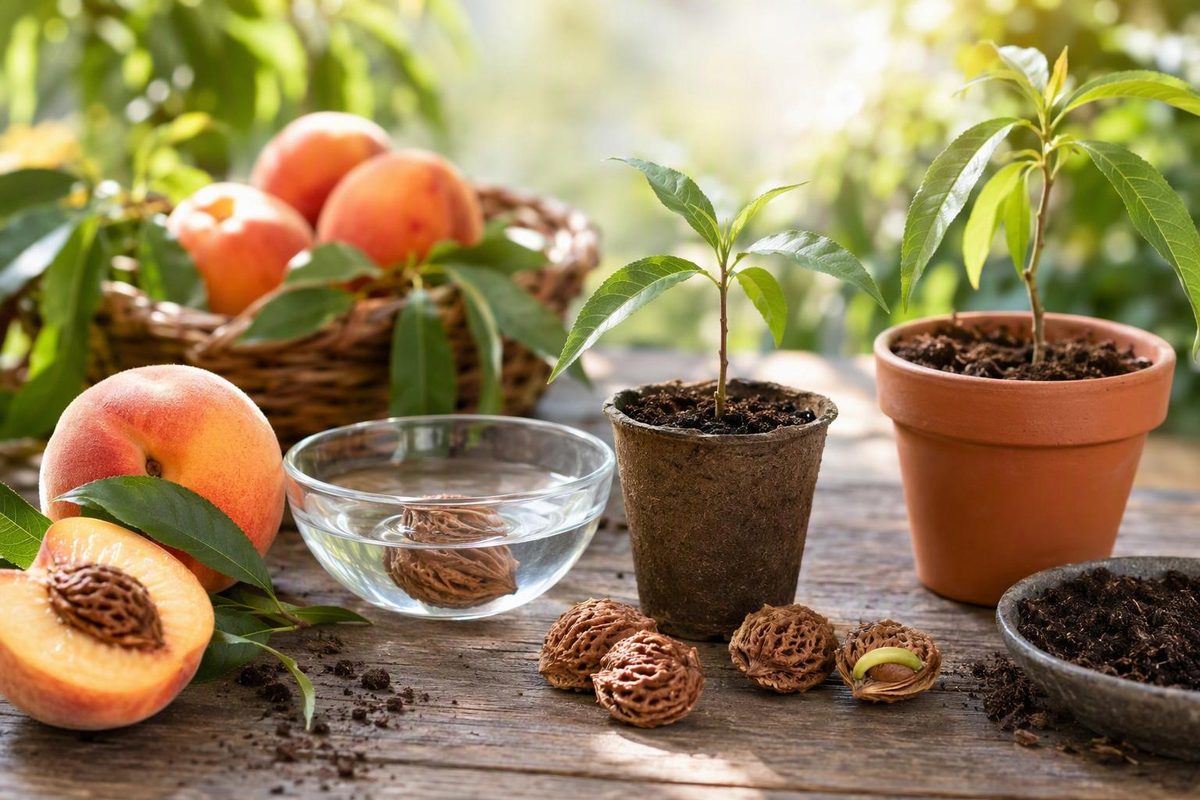
A peach pit can grow into a peach tree, but it will not produce a genetic copy of the peach you ate. The seed combines genes from the tree that bore the fruit and the tree that supplied pollen, so the eventual peaches may differ in flavor, size, ripening season and other traits. Named cultivars are propagated by budding or grafting when identical fruit is the goal, according to Penn State Extension.
Grow a pit if you want an inexpensive experiment, an ornamental tree or possible grafting rootstock. Buy a locally adapted, grafted cultivar if dependable fruit quality, mature size or time to bearing matters more.
1. Clean and inspect the pit
Choose a fully ripe, healthy peach. Remove the pit, scrub away all flesh and let its surface dry.
Leave the hard stone intact for the simplest method. The actual seed is the almond-like kernel inside it, but cracking the shell risks crushing or cutting that kernel. Starting several pits improves the chance of raising at least one seedling because not every seed will be viable.
A grocery-store peach also reveals little about whether its offspring will suit your climate. The parent cultivar and pollen parent may be unknown, and commercial peach trees are normally grown on selected rootstocks. Rootstock can influence size, vigor, cold hardiness, pest resistance and tolerance of difficult soils, as Utah State University Extension explains. A seedling grows on its own roots, without those selected rootstock traits.
2. Give the pit a cold, moist period
Peach seeds require a period of moist chilling, called cold stratification or after-ripening, before they can germinate. During that period, the embryo continues to develop.
For spring planting, count back about four months from the time severe frost normally ends in your area. A pit collected in summer can be cleaned, dried and held in a sealed container in a cool place until it is time to begin chilling. Check it during stratification, however: if a root emerges early, pot it rather than letting the root grow inside the bag.
Choose one of two methods.
Refrigerator method
- Moisten a handful of clean sand, peat-based mix or shredded paper towel. It should feel damp but should not release water when squeezed.
- Place the pit and medium in a lidded container or food-storage bag. Label it with the date and fruit description.
- Refrigerate without freezing. Check every week or two for standing water, mold, a split stone or a developing root. Replace moldy medium and discard a soft, rotting pit.
- Allow about 120 to 130 days of chilling. Penn State lists 33–50°F as the effective range for peach seed and 45°F as the best temperature in its table. If possible, check the temperature where the container sits rather than assuming every part of the refrigerator is the same.
For a closer look at moisture checks and what a split pit means, see how to germinate peach seeds with cold stratification.
Outdoor fall-sowing method
Where winter is reliably cold, sow cleaned pits outdoors in fall and let the season provide the chill. Set each pit no deeper than one to two times its longest dimension, cover it with soil, and secure wire screen or hardware cloth over the bed. Penn State recommends this protection because squirrels and chipmunks may dig up the pits.
Outdoor sowing is less controlled: winter may be too mild, drainage may be poor, and rodents may still find the seed. The refrigerator method makes moisture and progress easier to inspect.
3. Pot the seed after chilling
A split stone or emerging white root is a clear checkpoint that the seed is ready. Pick it up by the pit, not the tender root.
Fill a deep container with drainage holes and fresh, free-draining potting or seed-starting mix. Place a rooted pit on its side with the root directed downward, then cover it with roughly the pit’s thickness of mix. If the full chilling period has passed but no root is visible, sow the intact pit in the same way and continue waiting.
Water until the mix is evenly moist and excess water drains. Thereafter, water when the surface begins to dry instead of keeping the pot saturated. The conditions change at this stage:
- During stratification: cold and barely moist.
- After sowing: moderate room temperatures, strong light and evenly moist—not waterlogged—mix.
Move an emerged seedling under a bright grow light and adjust the fixture as the stem grows; general setup guidance is in how to start seeds indoors. Pale foliage, a long leaning stem or wide gaps between leaves point to inadequate light. Persistently wet mix, a sour smell or a soft stem at soil level points to excessive moisture and possible decay.
4. Harden off and choose the permanent site
An indoor seedling must adjust gradually to direct sun, wind and fluctuating temperatures. Begin about two weeks before transplanting. Put the pot outdoors for a few hours in a shaded, wind-protected spot, bring it in before temperatures fall, and increase its time and sunlight a little each day. University of Minnesota Extension recommends this two-week transition and keeping seedlings protected when freezing temperatures are forecast.
Before planting, decide whether a full-size peach tree fits the site. Utah State recommends at least eight hours of full sun and well-drained soil. It notes that peach trees commonly reach about 15 feet tall and 20 feet wide, although genetics and management affect size. Because this seedling is not on a known dwarfing rootstock, do not assume it will remain compact.
Plant after hard-frost danger has passed. Set the seedling no deeper than it grew in its pot, water thoroughly and keep mulch a few inches away from the trunk. Maintain a weed-free area around the young tree so turf does not compete for moisture.
Avoid low pockets where cold air settles. Peaches flower early, and a spring freeze can eliminate that year’s crop even when the tree survives. Climate fit involves more than a hardiness-zone number: a peach must tolerate winter lows, receive enough winter chill to end bud dormancy and have a long enough season to ripen its fruit.
5. Train and maintain the young tree
As the tree becomes large enough to develop permanent branches, begin training it to an open-center or vase-shaped framework. Peach trees bear on shoots that grew the previous year, so annual pruning eventually helps renew fruiting wood and admit light. Utah State’s peach guide recommends four or five well-spaced scaffold branches and removal of the central leader as that structure develops.
Do not add fertilizer simply because the tree is young. First watch its growth and use a soil test if it performs poorly. Water deeply during dry periods, but address poor drainage rather than trying to compensate with a rigid watering schedule.
If the mature tree eventually sets a heavy crop, thin the young fruit. Clemson Cooperative Extension recommends thinning about four weeks after full bloom to approximately 6 inches between peaches. This reduces limb breakage and gives the remaining fruit room to size.
A seed-grown peach is a long experiment, not a route to a duplicate cultivar. Until it flowers and ripens fruit, the useful checkpoints are simpler: a firm pit during stratification, a white root, a compact green seedling, steady new growth and a sound young framework.