
Grow Light for Tomato Seedlings: Choose, Hang and Adjust It
Choose a grow light for tomato seedlings, set its timer and hanging height, and use light measurements and new growth to guide adjustments.
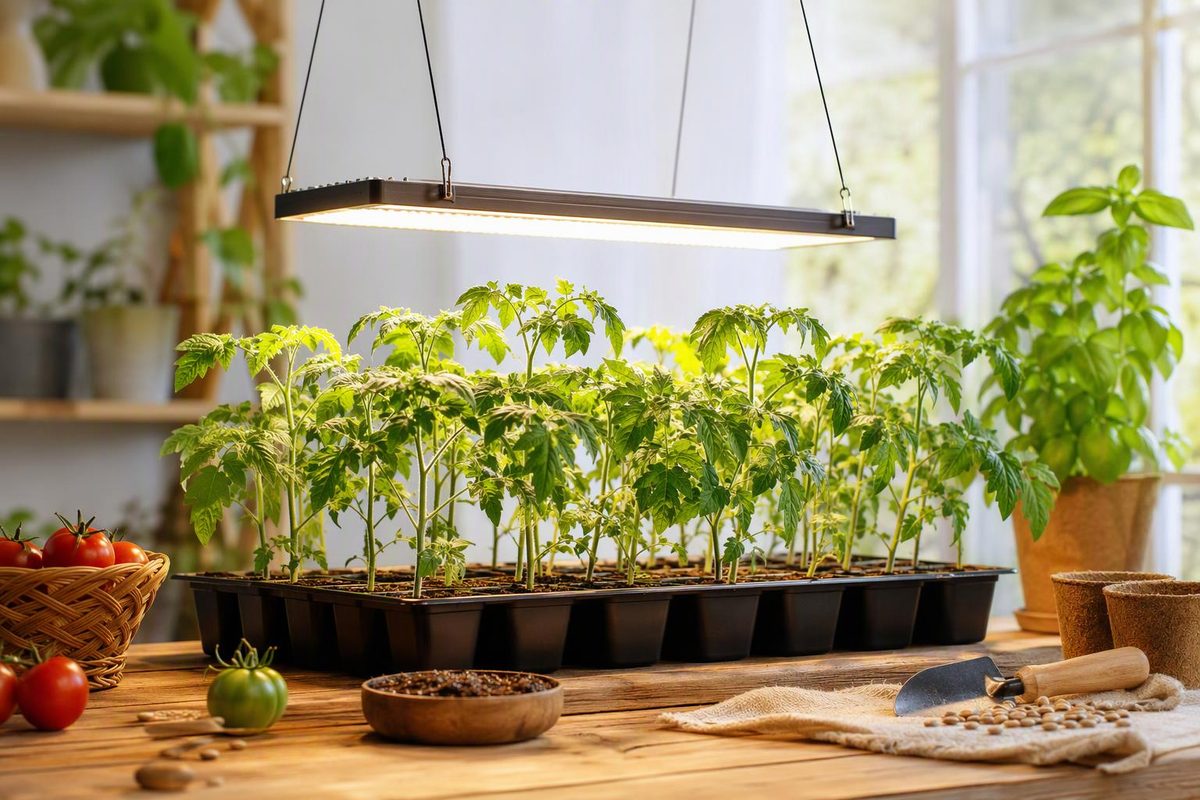
For tomato seedlings destined for the garden, choose an adjustable LED fixture that lights the whole tray, rather than buying by wattage or the words “full spectrum” alone. Set a timer for 16 hours on and 8 hours off, then adjust the fixture’s height or brightness as the plants grow. University of Minnesota Extension recommends 12–16 hours of daily light in its seed-starting guide, with a dark period rather than continuous lighting. Minnesota seed-starting guidance
The useful checkpoint is new growth: leaves should develop without long, thin stretches of stem between them.
What to look for in a light
A white LED bar or shop-light-style fixture is a practical starting choice for a shelf of tomato seedlings. Minnesota Extension identifies white or balanced lights as suitable for most plants at any growth stage. You do not need a purple lamp simply because it is labeled for plants. UNH Extension emphasizes that the amount of usable light reaching seedlings matters more than the distinction between “shop light” and “grow light.” Minnesota lighting guidance · UNH lighting guidance
Before buying, check:
- Coverage: Does the fixture illuminate your tray’s full length and width at its recommended seedling height? Allow for the extra space plants will occupy after potting up.
- Adjustability: Chains or adjustable hangers let you maintain the distance above the leaves. Dimming is useful with a powerful fixture.
- Output information: Prefer a fixture with a PPFD map showing light intensity across its growing area at a stated hanging height. A single bright reading directly beneath the center does not describe the tray edges.
Wattage describes electrical power use, not the light reaching your leaves. Minnesota Extension explains these lighting measurements. If you already have fluorescent shop lights, they can also grow seedlings; expensive equipment is not automatically necessary. USU Extension’s seedling guidance supports using inexpensive fluorescent fixtures.
How much light is enough?
If your fixture provides PPFD data—or you can measure it with a horticultural light meter—you can make a more informed adjustment.
PPFD measures plant-usable light arriving per unit area each second. Daily light integral (DLI) measures the total received over the day. UNH Extension uses 12 mol/m²/day as a planning assumption for seedlings in its indoor-lighting guidance. That is a useful starting benchmark, not a proven optimum for every tomato variety and growing condition. UNH’s explanation of intensity and DLI
With the lamp as the only light source, roughly 210 µmol/m²/s for 16 hours supplies that daily total:
DLI = PPFD × hours × 0.0036
Check intensity at leaf height in the center and near the tray edges. If the edges receive much less light, reposition the trays or add coverage rather than increasing an already-bright center.
Without a meter, use the seedlings as your guide. A timer cannot compensate for a lamp that is too weak or too far away.
How high should you hang it?
There is no single safe distance for every LED. Start with the manufacturer’s seedling setting and hanging height, then check plant response. Do not automatically place a high-output LED panel 2 inches above the leaves.
Minnesota’s seed-starting guide discusses standard fluorescent fixtures and recommends keeping lights 2–4 inches above the seedling tops. That close spacing should not be treated as a universal LED instruction. UNH explains that output at the leaves changes substantially with distance and that different fixtures require different arrangements. Minnesota seed-starting guidance · UNH fixture examples
Measure from the highest leaves, not the tray rim. Raise the fixture as plants grow, and group similar-height plants together so tall seedlings do not force the light too far above smaller ones.
Start at emergence, then watch new growth
Have the lighting setup ready before sprouts appear. If you did not use supplemental light during germination, add it after emergence. Germination warmth and later seedling care are separate jobs: check temperatures and unplug a heat mat if it is keeping growing seedlings too warm. Excess warmth can also produce spindly plants. USU guidance on temperature and lighting
Use these observations to guide adjustments:
- Long, thin stems or leaning: Check intensity, distance and uneven coverage. Space plants before their leaves overlap. USU troubleshooting guidance. More light can prevent further stretching, but it will not shorten an existing stretched stem. UNH’s explanation
- Scorched or bleached leaves beneath the fixture: Check for heat and excessive intensity; raise or dim the light. Minnesota guidance on excess light
- Slow growth despite adequate light: Check temperature, watering and nutrition rather than repeatedly increasing brightness. USU troubleshooting guidance
For the rest of the setup, see our indoor seed-starting guide and tomato seed-starting mix guide.
Before planting outdoors, allow about two weeks for gradual hardening off, beginning in sheltered shade and increasing sun exposure. Choose mild weather; USU cautions against exposing warm-season seedlings such as tomatoes to temperatures below 45–50°F. A grow light does not prepare seedlings for outdoor sun, wind and temperature changes on its own. USU hardening-off guidance