
How to Grow Thai Chili Seeds Into Productive Plants
Start Thai chili seeds 8–10 weeks before transplanting. Use warm mix for germination, then strong light and outdoor conditions as checkpoints.
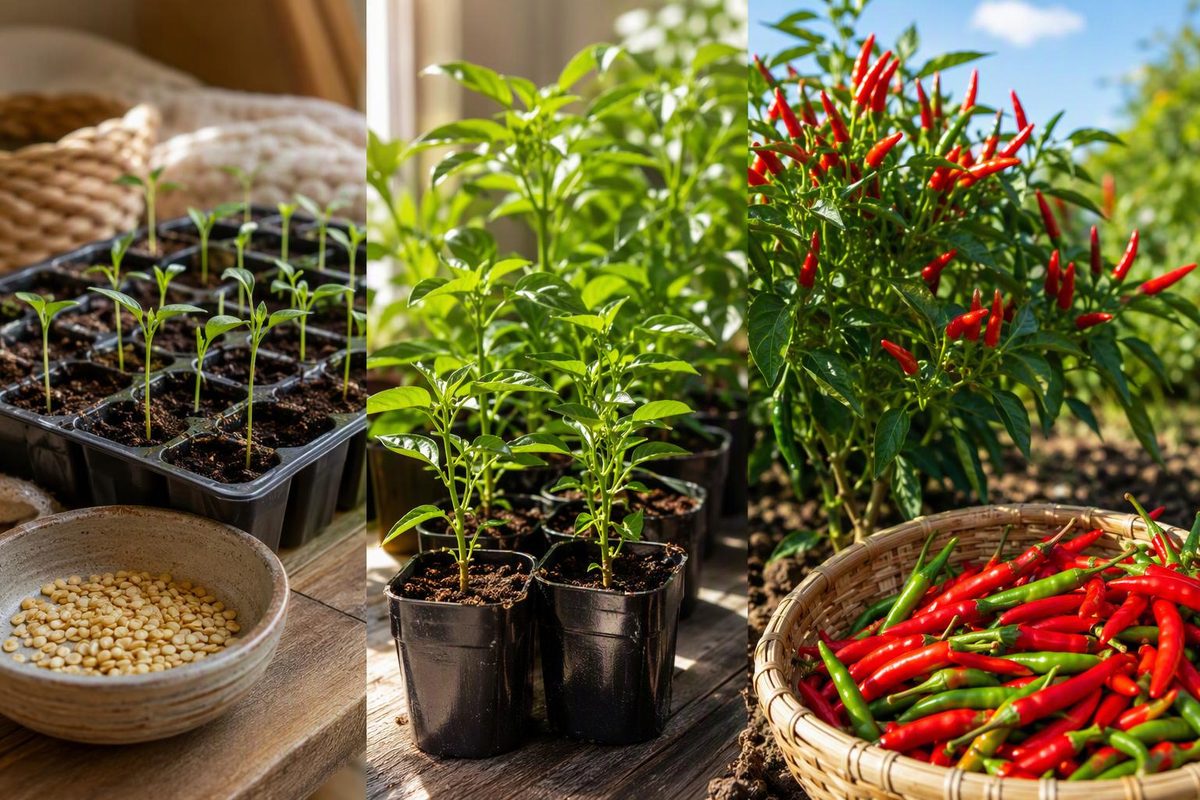
“Thai chili” describes a type of small, hot pepper rather than one standardized variety. Keep the packet: its cultivar name, species, mature fruit color and days-to-maturity figure are more useful than the words “Thai chili” alone. Packets sold under that broad name can differ in plant habit, fruit color, heat and harvest timing.
For most home gardeners, the practical plan is to start Thai chili seeds indoors 8–10 weeks before the intended transplant date, sow them 1/4 inch deep, and keep the mix at 80–90°F until seedlings emerge. Transplant only after frost danger has passed and nights remain above 50°F.
Work backward from warm outdoor weather
Do not count back only from the average last-frost date. Peppers are frost-tender, and a frost-free but cold garden can still stall them. University of Minnesota Extension recommends transplanting after nighttime lows remain above 50°F. Penn State Extension also advises waiting for soil above 60°F because temperatures below 50°F impair pepper growth (UMN Extension, Penn State Extension).
Use this calculation:
- Estimate the first week when your garden normally has frost-free weather, nights above 50°F and soil above 60°F.
- Count back 8–10 weeks for sowing.
- Reserve the final 7–10 days for gradual hardening outdoors.
Choose the longer lead time if the packet names a late-maturing cultivar, but avoid starting so early that plants become rootbound while cold weather continues. A young, stocky plant is preferable to an oversized transplant confined in a small cell.
Sow Thai chili seeds 1/4 inch deep
Fill clean cells or small pots with moist, fine-textured seed-starting mix. The mix should feel evenly damp but should not release water when squeezed.
- Sow one or two seeds per cell, 1/4 inch deep.
- Cover lightly and firm the surface so the seed contacts the mix.
- Label each cultivar and sowing date.
- Cover the tray to slow moisture loss, but check it daily.
- Keep the seed zone at 80–90°F, measured in the mix rather than in the room.
That depth and temperature come from general pepper guidance rather than from the “Thai” name: UMN Extension and Johnny’s Selected Seeds both specify 1/4-inch sowing and 80–90°F heat until emergence (UMN Extension, Johnny’s Selected Seeds). A thermostatically controlled heat mat is useful in a cool house. Put its probe in a representative cell so you are controlling root-zone temperature rather than guessing from room temperature.
Warmth changes speed. In a controlled vegetable-seed trial summarized by Oregon State University Extension, pepper seedlings appeared in about 8 days at 77°F and 86°F, 12 days at 68°F and 25 days at 59°F. The trial used seed planted 1/2 inch deep, so treat those figures as a temperature comparison—not a deadline for every Thai cultivar (Oregon State University Extension).
Change conditions when seedlings emerge
Germination conditions are not the same as seedling conditions. At the first green hooks:
- remove the humidity cover;
- move the tray directly under a strong grow light;
- remove the tray from intense bottom heat;
- provide gentle air movement around, rather than forcefully onto, the seedlings;
- water as the surface begins to dry instead of keeping the mix continuously saturated.
Johnny’s recommends approximately 70°F days and 60°F nights after pepper seedlings are moved into cells or pots, using well-drained medium that dries somewhat between waterings (Johnny’s Selected Seeds). For lamp positioning and other setup details, use this broader indoor seed-starting guide.
The first leaves are seed leaves. When true leaves appear—shaped more like mature pepper leaves—thin each cell to its strongest seedling. If roots have filled a small starting cell, move the plant into a larger pot while holding it by a leaf or root ball, not by its easily crushed stem.
Healthy seedlings are compact, upright and increasingly leafy. Long, pale stems leaning toward a window indicate inadequate light. Algae, fungus gnats or mix that stays glossy-wet for days point to excess moisture and poor drying.
Harden and transplant by observed conditions
Begin hardening about 7–10 days before planting. Start with a few hours in sheltered shade, then gradually add time, direct sun and light wind. Bring plants in when nights turn cold. Penn State recommends beginning in filtered light protected from strong breezes and increasing exposure each day (Penn State Extension).
Plant in full sun and well-drained soil. A practical default is 18 inches between plants, unless the packet gives different spacing for that cultivar. Set each transplant at approximately the depth it occupied in its pot, firm the soil and water thoroughly. UMN Extension advises keeping pepper shoots at their previous soil line and avoiding root disturbance (UMN Extension).
After planting, maintain consistent soil moisture. Too much nitrogen can produce a leafy plant that is slow to fruit, so use a soil test rather than feeding repeatedly by habit.
Diagnose slow or failed germination before resowing
Nothing has emerged after a week: This is not necessarily failure. Check the actual temperature in the mix. At cooler temperatures, peppers can take several weeks.
The mix is below 70°F: Add controlled bottom heat and continue waiting while keeping the mix lightly moist.
The mix smells sour or remains waterlogged: Poor drainage has displaced air from the root zone, and decay is possible. Correct the moisture problem; if the seed has rotted, resow in fresh mix.
Only some seeds emerged: Allow more time. Temperature varies across trays, and individual seeds do not emerge simultaneously. Thin later rather than digging through cells and damaging a late sprout.
Seedlings appeared and collapsed at the soil line: Treat this as a seedling-environment problem, not a need for more heat. Discard affected seedlings, improve airflow, use clean containers and avoid saturated mix.
Old seed is in question: Sow a few extra cells instead of burying multiple seeds deeply. Warmth cannot restore dead seed, but a controlled warm sowing helps distinguish low viability from a cold-tray problem.
Harvest and save seed deliberately
Thai chilies can generally be picked green or allowed to reach the ripe color named on the packet. Use scissors or pruners because pepper branches can be brittle. Wear gloves when handling hot fruit, wash your hands afterward, and keep your hands away from your eyes and face (UMN Extension).
For seed saving, use a ripe, healthy fruit from an open-pollinated variety. Hybrid seed may be viable, but its offspring need not match the parent. Let selected peppers become fully ripe and begin to wrinkle, remove the seeds, dry them thoroughly, then label them with the cultivar and year (UMN Extension).
Do not assume that self-pollinating flowers guarantee pure seed. Insects can move pollen among peppers. Seed Savers Exchange recommends separating pepper varieties by 300–1,600 feet or using physical barriers when varietal purity matters (Seed Savers Exchange). Bag a few flower buds before they open, leave them covered until fruit sets, mark the isolated fruits and save seed only from those fruits.