
How to Grow a Watermelon From a Seed
Choose when to sow watermelon seeds, compare indoor and outdoor starts, and follow soil-temperature, seedling-care and ripeness checks for your garden.
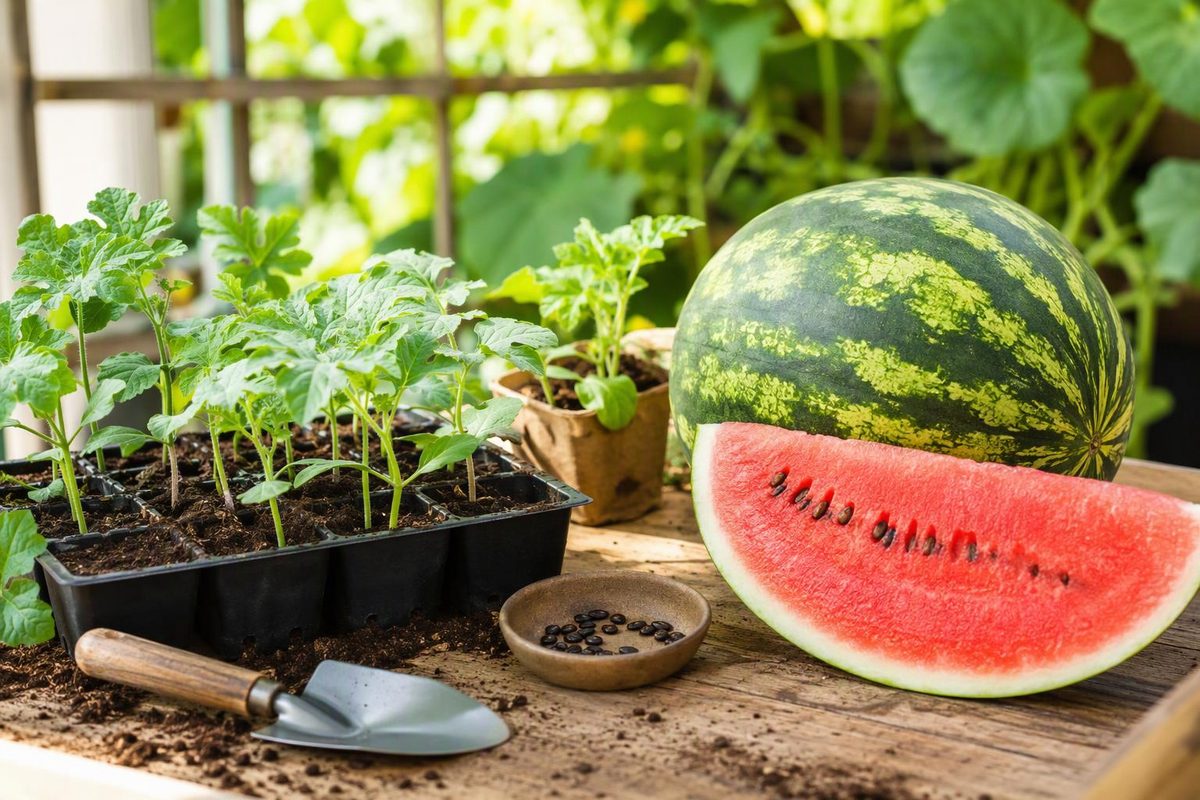
To grow a watermelon from a seed, sow it ½–1 inch deep in warm, moist soil, then give the plant full sun and room to spread. Direct sow after frost danger has passed and soil is above 70°F (21°C). If your summer is short, start seeds indoors three to four weeks before a warm-weather transplant date. Watermelon is sensitive to cold and root disturbance, so an earlier start is not always a better one.
Choose your frost status, soil warmth and season length to check your next step.
Watermelon Sowing Decision
For conventional seeded watermelon. Seedless types need supplier-specific germination and pollen instructions.
Direct Sowing Conditions Are Ready
Sow ½–1 inch deep in moist, well-drained soil in full sun. If you already have seedlings, transplant with the root ball intact when they have two or three true leaves.
Check the variety’s maturity figure against your available season. Warm soil does not guarantee enough time to harvest.
Sources: University of Minnesota Extension, Growing Melons In The Home Garden; Johnny’s, Watermelons Key Growing Information. This checks sowing conditions, not a harvest date.
Choose Seed That Fits Your Growing Season
For a predictable crop, use a packet of a named, seeded watermelon variety. In a short summer, prioritize early maturity rather than a large, late fruit. University of Minnesota Extension recommends melons with roughly 65–80 days to harvest for its northern growing conditions. That range is guidance for those conditions, not a promise that every garden can grow every variety within it.
Check how the supplier counts maturity. Johnny’s counts watermelon maturity from transplanting and adds about 10 days for direct sowing. The indoor seedling period is additional time; a packet’s maturity figure does not necessarily describe the entire interval from seed to fruit.
A small fruit does not necessarily mean a compact plant. ‘Sugar Baby’ produces fruits averaging 8–10 pounds, but still needs room for its vines.
Seeds From A Watermelon You Ate Are An Experiment
Select plump, firm seeds from ripe fruit, rinse off the pulp and spread them in a thin layer to dry. These are Seed Savers Exchange’s watermelon seed-cleaning instructions.
An unknown supermarket melon is less predictable than a named seed packet. Seed from an F1 hybrid will not breed true, and watermelon varieties can cross-pollinate, changing the next generation. University of Georgia Extension explains these limits on variety selection and seed saving. A seed may grow successfully without producing fruit like the watermelon it came from.
Seedless watermelon is a separate project. Its purchased seed needs favorable indoor germination conditions, and the plants need a seeded watermelon nearby to supply pollen. Follow the supplier’s seedless-specific instructions—such as those in Johnny’s growing guidance—rather than assuming one seedless plant will fruit alone.
Set The Sowing Date By Soil Warmth
For a straightforward outdoor start, wait until frost danger has passed and soil is above 70°F (21°C). Johnny’s recommends direct sowing about one to two weeks after the last frost, but measured warmth matters more than that calendar interval.
Take the temperature in the top two inches of the bed. Minnesota Extension identifies 65°F (18°C) as the minimum planting temperature for melons and 70–90°F as the best germination range. The minimum is not the same as the preferred condition for a straightforward direct start. Cold soil can mean slow growth and root disease even if seeds emerge.
| Checkpoint | Temperature Or Timing | How To Use It |
|---|---|---|
| Minimum planting temperature | 65°F (18°C) | Minnesota’s lower threshold for melons |
| Preferred direct-sowing threshold | Above 70°F (21°C) | Wait for this and the end of frost danger |
| Indoor germination | 80–90°F (27–32°C) | Keep the seed-starting environment warm |
| Indoor start | 3–4 weeks before transplanting | Count back from a warm, ready bed |
If summers are short, count backward from when the bed should be warm enough for transplanting—not automatically from your last-frost date. Starting too far ahead leaves you managing a cold-sensitive plant that dislikes root disturbance while waiting for outdoor conditions to improve.
Sow Outdoors Or In Individual Pots
Direct Sow In A Sunny, Well-Drained Bed
Choose full sun and well-drained soil. Use a soil test to guide fertilizer additions and incorporate finished compost if needed.
Sow three seeds per planting spot, ½–1 inch deep. For a typical spreading variety, allow about 2–3 feet between plants and 6–8 feet between rows, unless the packet specifies otherwise. These depths and spacing follow Johnny’s watermelon growing guidance.
Water gently and keep the seed zone moist. After emergence, retain the strongest seedling at each spot. The goal is one established plant per spot, not a cluster of vines competing in the same space.
Start Indoors Without Crowding The Roots
Use individual pots rather than a shared tray that will require separating roots. Minnesota Extension recommends pots around four inches wide to give young roots room to develop.
- Fill the pots with moistened seed-starting mix.
- Sow two seeds per pot, ½–1 inch deep.
- Keep the germination environment at 80–90°F (27–32°C). A temperature-controlled heat mat can help, but check the temperature rather than relying on the mat’s presence.
- Keep the mix moist, not saturated. If both seeds emerge, snip the weaker seedling at soil level instead of pulling it through the other plant’s roots.
Johnny’s recommends this sowing method and warm germination range, followed by about 75°F (24°C) for growing seedlings. Germination heat and later seedling conditions are not the same.
Check Emergence Before Adding More Water
Seed Savers Exchange gives a 4–12-day germination window. Use it as a checkpoint, not a guarantee. If nothing emerges by then, check temperature, moisture and planting depth before resowing. More water will not correct a cold seedbed.
After indoor seedlings emerge, provide supplemental light for about 14 hours daily. Long, thin stems suggest insufficient light. Water when the pot becomes noticeably lighter, but before seedlings wilt, and discard drainage water rather than leaving pots standing in it.
Check whether your mix contains fertilizer. If it does not, use a complete fertilizer according to its seedling directions. Utah State Extension describes these indoor seedling-care checks. Our indoor seed-starting guide covers the setup in more detail.
Transplant In Warm Weather With The Root Ball Intact
Gradually introduce seedlings to outdoor shade, then longer periods of sun and wind. Bring them indoors for chilly nights. Utah State advises avoiding temperatures below 45–50°F for warm-season seedlings, including melons.
Transplant when weather is warm and settled and plants have two or three true leaves, the leaves that appear after the first seed leaves. Minnesota Extension uses this leaf stage as a transplant checkpoint. Leaf count alone does not make a cold bed ready.
Keep the root ball intact, plant at its existing depth and water thoroughly. Handle the young plant as little as possible; the indoor start helps only if the seedling reaches the bed without substantial root disturbance.
Water The Vines And Leave Flowers Accessible
Once plants are established, water deeply at soil level. Utah State Extension recommends roughly 1–2 inches weekly and gives watermelon harvest guidance. Account for rainfall and how quickly your soil drains rather than automatically adding that amount as irrigation. Young transplants need closer moisture checks while their roots establish.
Gradually reduce watering as fruit ripens instead of continuing heavy irrigation.
If you use row cover to protect young plants, monitor the temperature beneath it and ventilate in hot weather. Remove it when female flowers appear so pollinators can reach them. A female flower has a tiny watermelon-shaped swelling beneath the blossom, as described in Johnny’s row-cover guidance. Weed shallowly to avoid damaging roots.
Harvest When Several Ripeness Signs Agree
Look for these cues together: the tendril near the fruit stem dries and browns, the ground-contact spot turns yellow, and the rind loses its shine. Utah State’s harvest guidance supports using these signs together rather than relying on a date alone. Maturity indicators vary among varieties.
Use the packet’s maturity estimate to know when to begin checking, not as an automatic harvest deadline. Following Seed Savers Exchange’s guidance, cut the stem with a knife or garden tool instead of tugging the fruit off the vine.