
How to Germinate Plum Seeds With Moist Chilling
Clean plum pits, cold-stratify them in moist mix, and pot emerging roots. Use species-specific chilling times rather than one schedule for every plum.
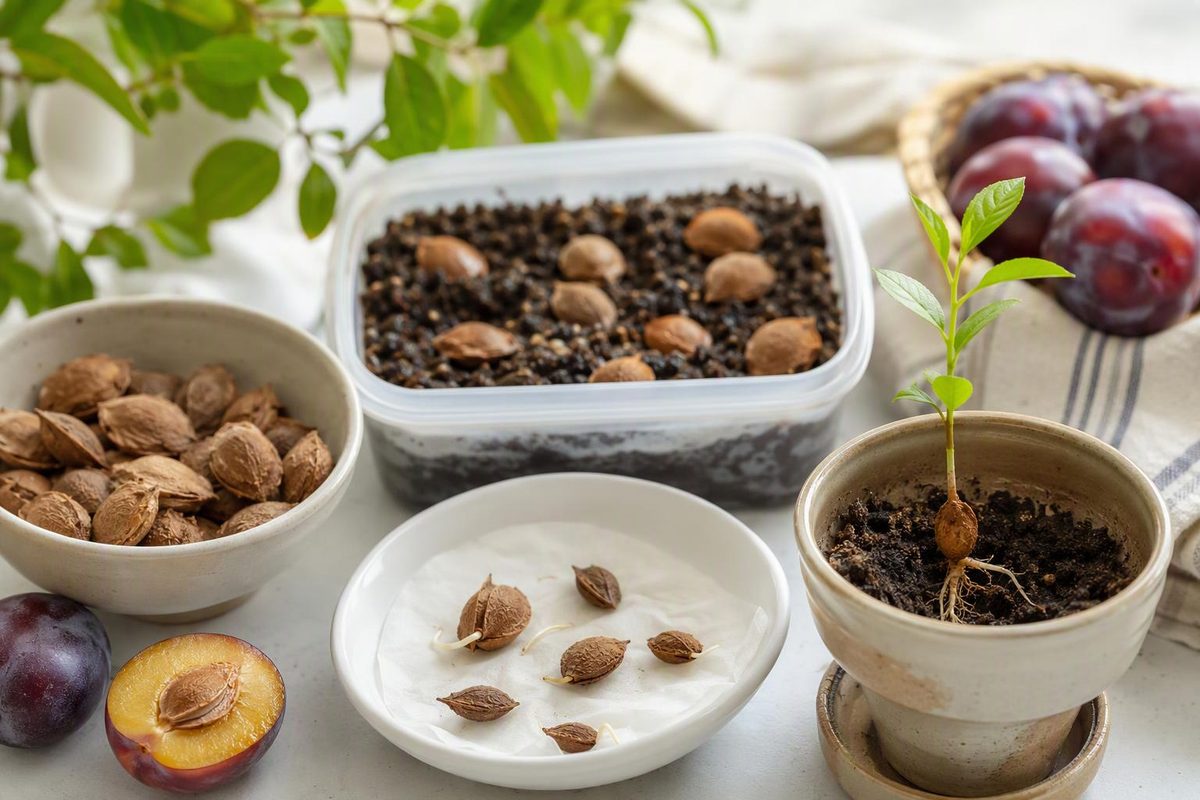
To germinate a plum seed, remove the fruit flesh, keep the pit in a moist medium during a refrigerator chilling period, then sow it when a root appears or the recommended chilling period ends. For European plum (Prunus domestica), a practical starting protocol is a 24-hour soak, 120 days of cold-moist stratification, and sowing ¾ inch deep, following Sheffield’s Seed Company’s directions.
The pit is the hard stone surrounding the seed. You can start with the intact pit; removing its shell is not a substitute for treating dormancy.
Check which plum you have
Use the species on a seed packet or the identity of the parent tree when available. Plum chilling requirements vary by species and seed lot—not every plum follows the European-plum schedule. These are treatment periods, not guaranteed dates for a shoot to emerge.
| Plum species | Published cold-moist treatment |
|---|---|
| European plum, Prunus domestica | 120 days, according to Sheffield’s |
| American plum, Prunus americana | 90–120 days from Western Native Seed; a Native Plant Network protocol uses 150 days |
| Sand plum, Prunus angustifolia | 60–90 days at 34–40°F, according to Oklahoma State Extension |
For an unidentified supermarket plum, treat the project as an experiment rather than assuming a particular species. A seedling will not reliably reproduce the fruit you ate. If your goal is a specific named variety, choose a grafted tree instead; Penn State Extension explains why fruit varieties are propagated vegetatively.
1. Clean the pits and prepare the medium
Remove all clinging flesh and rinse the pits. For European plum, soak them in water for 24 hours. Start several pits if you have them, keeping their source and treatment dates on the label.
Prepare clean sand, vermiculite, or a sand–perlite mixture. Add water until the medium is evenly damp, with no puddle in the container. It should keep the pits moist without packing tightly around them; Oklahoma State Extension emphasizes both moisture and aeration during stratification.
Avoid prolonged drying of fresh European-plum seed. In plum germination experiments, drying reduced germination capacity, and equal parts sand and perlite performed best among the media tested—not a guarantee of success at home.
2. Refrigerate while moist—not dry
Put the pits and damp medium in a labeled plastic container or bag in the refrigerator, not the freezer. Use the species-specific duration above, or the supplier’s instructions for your seed lot.
Check every few days:
- Dry medium: add a little water and redistribute it gently.
- Standing water: drain the excess; the pits need air as well as moisture.
- An emerging root: sow that pit promptly rather than waiting for the calendar deadline.
Western Native Seed’s stratification instructions recommend frequent moisture checks and sowing when germination begins. Simply storing a dry pit in the refrigerator is not the same treatment.
3. Sow and watch for a shoot
For European plum, sow each pit ¾ inch deep, following Sheffield’s sowing guidance, in a separate pot with drainage holes and fresh potting mix. For other species, follow the seed supplier’s depth recommendation. If a root has emerged, make a hole that accommodates it without bending or breaking it, placing the root downward. Cover gently and water to settle the mix.
After the prescribed chilling period, sow unsprouted pits too. Move the pots to a mild indoor growing spot rather than leaving them refrigerated. For American plum, the Native Plant Network protocol uses 21°C (about 70°F) for germination after chilling. Keep the mix moist but not saturated. A split stone alone is not proof of a viable seedling; look for a root, followed by a shoot.
Once leaves emerge, provide strong light and keep drainage unobstructed. Before moving an indoor-grown seedling outdoors, gradually introduce it to outdoor light and weather. The indoor seed-starting guide covers lighting, watering, and hardening off.
If nothing sprouts—or you prefer fall sowing
Do not crack every remaining pit as a rescue measure. In the European-plum experiments, cracking stones, removing seed coats, and sowing embryos immediately after harvest gave the highest germination but also caused substantial seedling losses and poor growth. A four-week period at 68°F before three months of stratification improved germination compared with no warm period. That is a possible alternative for a fresh batch, not proof that every stalled pit needs warmth. See the study abstract.
Where winters provide sustained cold, fall sowing can supply natural stratification. Keep the seedbed moist and protect it from rodents. American plum may emerge in the first or second year after seedfall, so mark the spot rather than digging it up after one unsuccessful spring. The USDA wild-plum guide also advises sowing early enough for chilling before the seedbed freezes. In mild-winter climates, refrigerator treatment gives you more control.